FY505 Rolled Hem Setup Guide
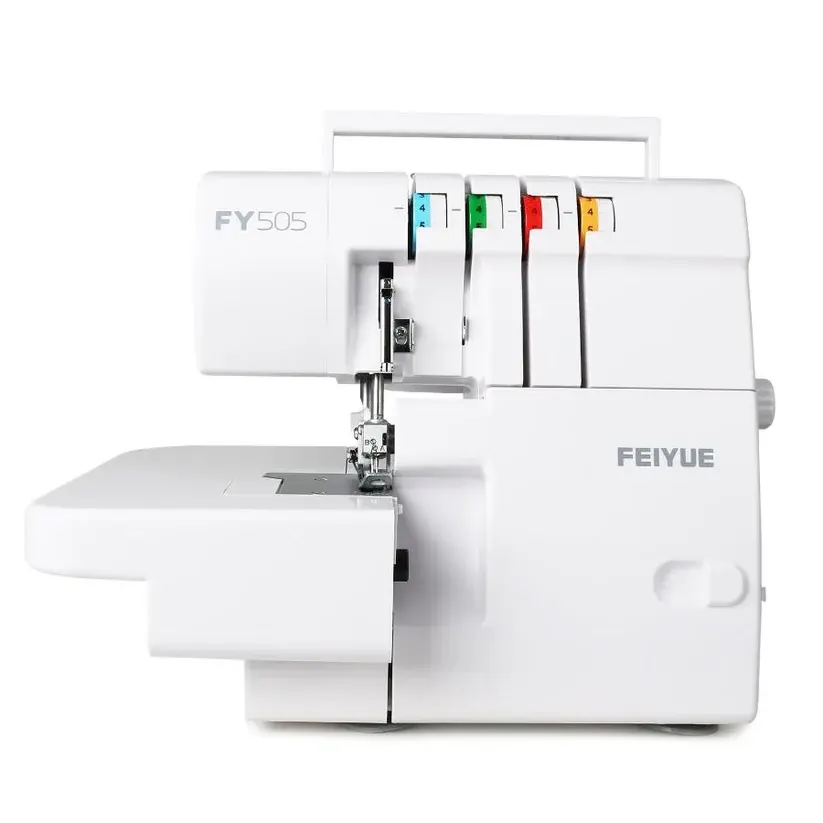
FY505 Rolled Hem Setup Guide
Create beautiful, professional rolled hems on lightweight and medium-weight fabrics by following the steps below.
Step 1 – Prepare the Machine
Turn OFF the machine.
Open the looper cover.
Install the rolled hem spreader according to the machine instructions.
Remove the left needle (use only the right needle for a narrow rolled hem).
Note: The spreader replaces the lower looper thread during rolled hem sewing.
Step 2 – Adjust the Upper Knife

(Knife at 3.5 mm)
Caption:Set the upper knife approximately 3.5 mm from the needle plate.
Move the upper knife as close to the needle plate as possible. This allows the fabric edge to roll correctly before the stitches are formed.
Step 3 – Set the Thread Tensions

(Tension Dial Settings)
Caption:Recommended tension settings for a rolled hem.
Set the tension dials as follows:
Thread | Setting |
Left Needle (Blue) | 3 |
Upper Looper (Green) | 3 |
Lower Looper (Red) | 2 |
Right Needle (Orange) | 7 |
These settings are recommended starting points. Minor adjustments may be needed depending on the fabric and thread used.
Step 4 – Test Sew
Use a scrap piece of the same fabric before sewing your project.
A correctly adjusted machine should:
Roll the fabric edge tightly.
Wrap the threads evenly around the edge.
Produce a balanced stitch with no loose loops.
If necessary, make small tension adjustments until the stitch is balanced.
Expected Result

(Finished Rolled Hem Sample)
Caption:A properly adjusted rolled hem with even thread coverage and a tightly wrapped fabric edge.
Your finished stitch should have:
✔ Smooth, tightly rolled edge
✔ Even thread coverage
✔ No loose loops
✔ Professional decorative finish
Helpful Tips
Rolled hems work best on lightweight fabrics such as cotton, chiffon, knits, and other delicate materials.
Always test your settings on a fabric scrap before sewing your final project.
Clean lint regularly and lubricate the machine according to the maintenance instructions to ensure consistent stitch quality.